1. First inspect the house, not the insulation catalogue
Before buying materials, inspect the roof, flashing, gutters, foundation, window junctions, floor edges and every place where timber touches damp masonry. Look for dark stains, soft wood, recurring condensation, leaks and musty odors. Insulation slows heat transfer but does not cure water damage. Covering wet or decayed wood makes inspection harder and can worsen hidden deterioration. Fix the water source first, investigate suspicious structural timber with a qualified surveyor and let the assembly dry before enclosing it. Photograph the wall layers during inspection: old homes often contain unexpected plastic films, hardboard, air gaps or several rounds of cladding. The right insulation method depends on what is actually present, not merely the age of the house.
2. Air sealing, ventilation and moisture must work together
Gaps around windows, doors, attic hatches and service penetrations can account for noticeable heat loss and transport humid indoor air into cold building cavities. Carefully seal identified air leaks using compatible materials, without blocking intentional ventilation, combustion air supplies or designed roof ventilation paths. A vapor retarder is not the same thing as an air barrier. Its location and permeability depend on climate, exterior cladding and how the wall can dry. Do not blindly wrap an older timber wall in impermeable plastic on both sides: moisture may become trapped and lead to rot. A specialist can evaluate the complete wall build-up, climate and indoor humidity before specifying membranes. The Department of Energy guidance linked below explains these principles.
3. Exterior or interior insulation — what changes?
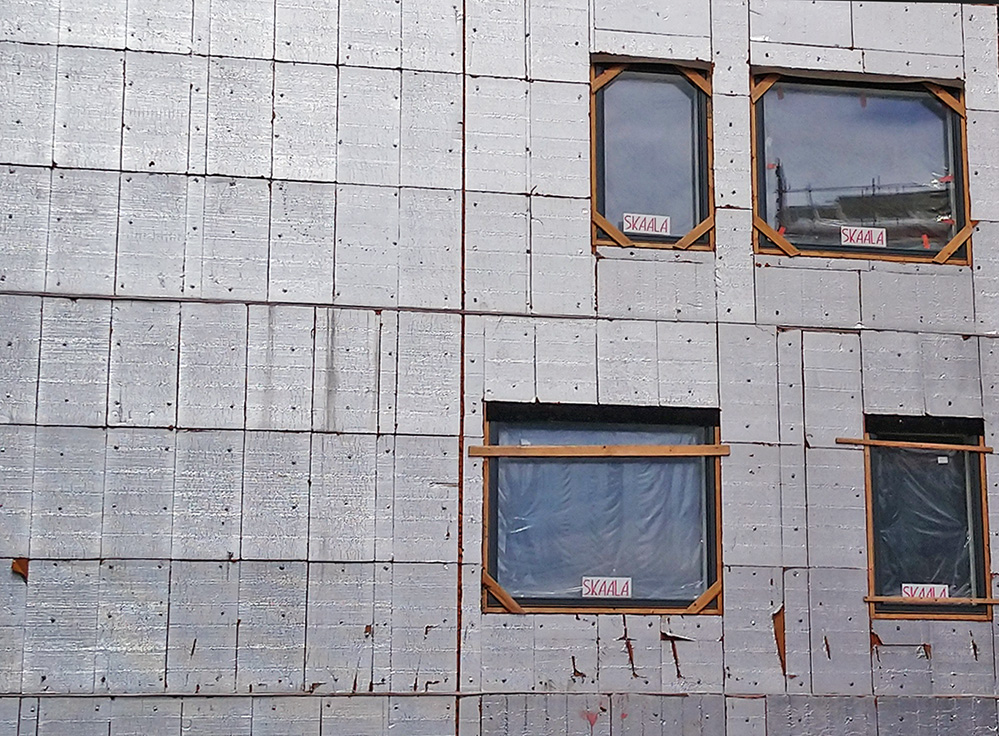
Exterior insulation can help keep structural timber warmer and limit some thermal bridges, but requires careful detailing of the rain-screen, window reveals, drainage plane, fire safety, roof overhang and foundation transition. Interior insulation may preserve an existing facade but can leave the old wall colder and more vulnerable to condensation unless its airtightness and vapor control are designed carefully. The choice should account for heritage or facade restrictions, the existing structure, the manufacturer’s tested system and local building rules. Mineral wool, wood-fiber and rigid panels do not all behave identically; compare declared thermal conductivity, fire class, moisture behavior, installation tolerances and compatibility with the chosen cladding. Do not select wall thickness using a general web calculator alone.
4. Calculate area and packs before requesting offers
A rectangular 8 × 6 m house with 2.6 m exterior wall height has a perimeter of 28 m and gross rectangular wall area of 72.8 m². If doors and windows take 12 m², the simple net area is 60.8 m². With 10% cutting allowance the purchase area becomes 66.88 m². If the manufacturer specifies 5 m² of coverage per pack at the selected thickness, buy 14 packs. A pack price of €35 produces €490 for insulation packs only. This excludes boards around reveals, gables, battens, anchors, tape, weather membranes, facade layers, waste collection and labor. Open /tools/insulation-calculator/ to enter your own measurements; use the coverage printed on your chosen product’s actual packaging.
5. What belongs in a real insulation estimate?
Separate the budget into survey and remediation, preparation and scaffolding, insulation boards or batts, anchors or framing, air and water control layers, junction details, external cladding or plaster system, delivery, waste disposal and skilled labor. Request two or three itemized offers based on the same house measurements and drawings. Ask what happens if damaged timber is found beneath existing siding, how window edges and eaves will be finished, whether VAT is included and how hidden works will be inspected before they are covered. For Latvian labor-price orientation you can compare published categories on CenaRadar at https://cenaradar.online/; that website is another project by the owner of MURDILIMAX. It is not a binding offer and we cannot substitute it for a contractor’s site visit.
6. A practical sequence for an older wooden house
Start with an independent condition survey and water-ingress repair. Next measure existing rooms and external elevations, assess heat loss and ventilation, and have the wall build-up checked for moisture-safe drying. Agree on the materials, fire-safety details and required local permissions. Only then finalize your wall-area calculation and order materials in the correct product thickness and packaging size. Photograph concealed junctions before closing them, keep technical sheets and invoices, and check the work against the agreed details. If budget is limited, air-leak repairs and accessible attic insulation may be worth evaluating first, but even attic work needs proper vapor, ventilation and fire-safety detailing. The aim is a dry, durable and comfortable home, not simply a thicker wall.
- US Department of Energy — energy renovation insulation guide (moisture and vapor control) ↗
- Building Science Education / DOE — air barriers versus vapor barriers ↗
- US Department of Energy — insulation and air sealing in existing homes ↗
- Wikimedia Commons — original wall insulation photograph and license ↗
A general educational overview, not a substitute for professional guidance. Check current local rules and trusted primary sources before making consequential decisions.
Share this article