| PSI | Bar (approx.) | kPa (approx.) |
|---|---|---|
| 30 psi | 2.07 bar | 207 kPa |
| 32 psi | 2.21 bar | 221 kPa |
| 35 psi | 2.41 bar | 241 kPa |
| 36 psi | 2.48 bar | 248 kPa |
Find the recommended pressure before touching the valve
Every car has a recommended cold tire pressure determined by its manufacturer. Look for a tire and loading information sticker on the driver's door pillar or inside the door, or consult the vehicle owner's manual. Some cars specify different pressures for the front and rear axles or for different loads; use the figure applicable to your current setup. The number printed on the tire sidewall is commonly a maximum-load or maximum-inflation reference, not the normal pressure you should put in that tire. NHTSA explicitly warns against treating that sidewall value as your everyday target. The correct pressure is often shown in PSI, kPa or bar, depending on where the car was sold. If the door sticker is missing, use the manufacturer's documentation for your exact model, wheel size and load configuration rather than guessing a universal value such as 32 PSI.
Check the tires cold, preferably before your first drive
NHTSA recommends measuring tire pressure at least once a month, including the spare if your car has one, and before long trips. For an accurate comparison with the manufacturer's sticker, the tires should be cold: the vehicle generally has not been driven for at least three hours. Driving warms the tires and the air inside them, which can raise the reading without adding any air. If you measure a warm tire and immediately release air until the gauge matches the cold-pressure label, you may leave the tire underinflated after it cools. When a tire is obviously low during a trip, do not ignore a safety concern merely because it is warm: use suitable professional assistance or add enough air to reach a safe temporary condition, then recheck cold. Inspect tread and sidewalls for visible cuts, bulges, nails or unusual wear while you are nearby.
Measure pressure with a gauge in four simple steps
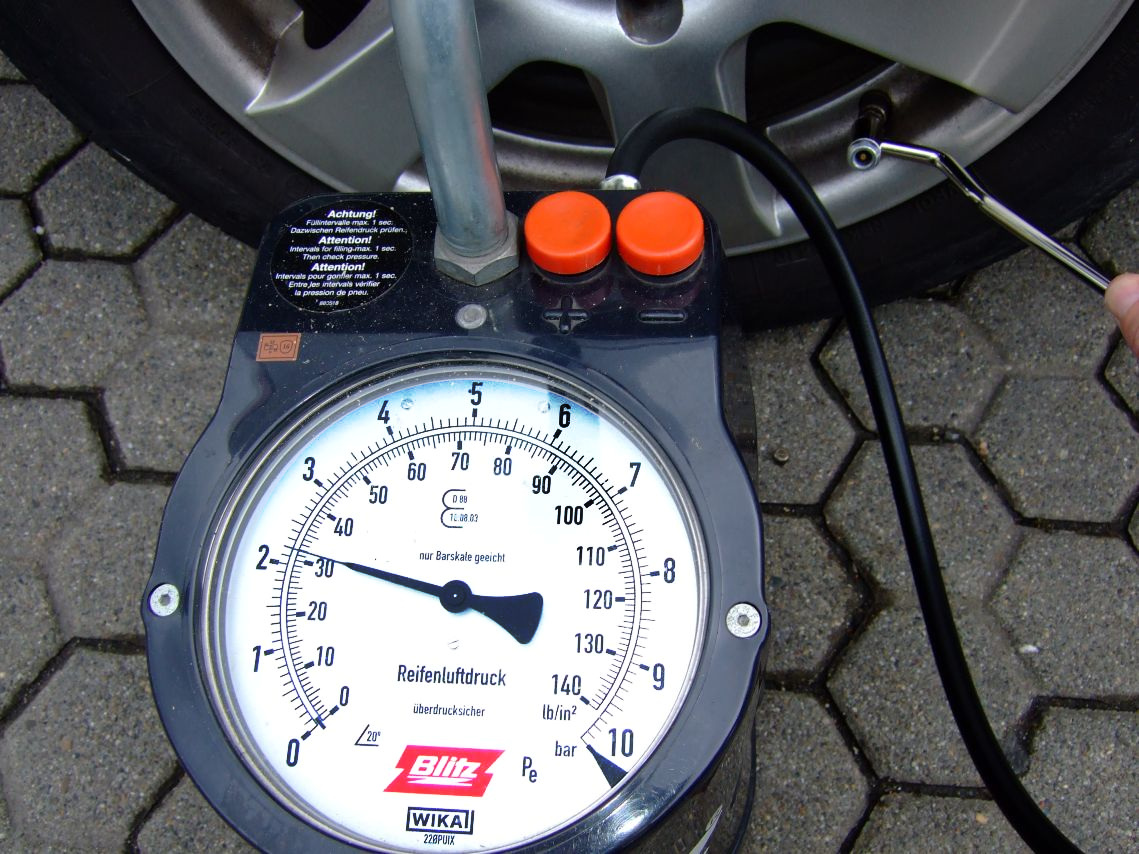
Park on a level, safe surface away from moving traffic and switch off the vehicle. Unscrew a valve cap, press a reliable tire-pressure gauge firmly and straight onto the valve stem, then read its display or mechanical scale. A brief hiss while attaching the gauge is normal, but a long leak means the gauge may not be seated. Compare the measured value to your vehicle's cold-pressure label for that wheel. If it is low, connect an air compressor, add air in short bursts and remeasure; if it is high while the tire is truly cold, gently release a little air and recheck. Repeat for all road wheels, remembering that front and rear targets may differ, then replace every valve cap. A gauge gives a more useful actual reading than simply looking at the shape of the tire. Many underinflated tires do not look obviously flat.
PSI, bar and kPa: understand the numbers, not just the units
Tire gauges can show pounds per square inch (PSI), bar or kilopascals (kPa). These are different units for the same physical pressure: one bar equals exactly 100 kPa and about 14.5 PSI; one PSI is approximately 6.895 kPa. For instance, 32 PSI corresponds to roughly 2.21 bar or 221 kPa, but that does not mean 32 PSI is the correct setting for every car. If the vehicle sticker is printed in kPa and the compressor shows bar, divide the sticker number by 100. If a gauge shows PSI, multiply bar by approximately 14.5. It is normal for values to be rounded to one decimal place on different gauges. Make adjustments based on the manufacturer's guidance, using the same units on both the label and the gauge when possible. Never confuse a conversion table with a vehicle-specific tire-pressure recommendation.
What does the TPMS warning light actually tell you?
Many vehicles display a tire-pressure warning light or the individual wheel values through a tire pressure monitoring system, often called TPMS. It is a useful warning but not a replacement for checking pressure with a reliable gauge. NHTSA explains that the system may not alert until a tire is significantly underinflated, and readings on the dashboard can change as the tires warm. After setting correct cold pressures, follow your owner's manual for any reset or relearn procedure; it differs between vehicles. If the warning flashes for a period and then remains on, it may indicate a monitoring-system fault rather than just low air. A tire that repeatedly loses pressure needs inspection for punctures, valve leaks or wheel damage. Never keep inflating a visibly damaged tire and driving as usual simply to extinguish a dashboard indicator.
A monthly routine and the mistakes worth avoiding
The simplest routine is to keep a gauge in the car and check all the tires when cold once a month and before major journeys. Record any wheel that regularly drops faster than the others, because a slow leak can be missed by casual visual inspection. Do not use a random pressure from an online chart, do not inflate to the tire's sidewall maximum and do not deflate a warm tire merely to match a cold specification. Check the spare if fitted and remember that tire sealant or run-flat designs may have different manufacturer instructions. If you see a bulge, exposed cords, a large cut or unexplained rapid loss of pressure, seek tire-service assistance instead of treating it as an air-only issue. Correct inflation helps road handling, tire wear and efficiency, but it cannot repair damaged rubber. For additional driving preparation, visit /guides/change-flat-tire-safely/ and /topics/travel/.
A general educational overview, not a substitute for professional guidance. Check current local rules and trusted primary sources before making consequential decisions.
Share this article