| Knot | Shape | When it works well |
|---|---|---|
| Four-in-Hand | Slim, slightly asymmetrical | Everyday wear, most collar shapes |
| Half-Windsor | Medium, fairly symmetric | Workwear and moderately spread collars |
| Full Windsor | Broad, symmetrical | Wider collars; needs more tie length |
| Simple / Oriental | Small and compact | Thicker ties; short remaining length |
Seven moves for the Four-in-Hand knot
Face a mirror. These directions are from the wearer's perspective, with the wide end initially on your right.
Start with unequal ends
Place the tie around your neck, wide end to the right and hanging lower than the narrow end.
Cross wide over narrow
Move the wide end across the front of the narrow end toward your left.
Wrap behind
Bring the wide end behind the narrow end toward your right.
Cross the front again
Move the wide end across the front toward your left to create a visible band.
Go up through the neck loop
Bring the wide end upward from underneath, through the gap beside your neck.
Go down through the front band
Pass the wide tip down through the horizontal loop you just made.
Tighten and adjust
Hold the narrow end and slide the knot upward, then smooth the front and check the length.
The quickest knot for beginners: Four-in-Hand
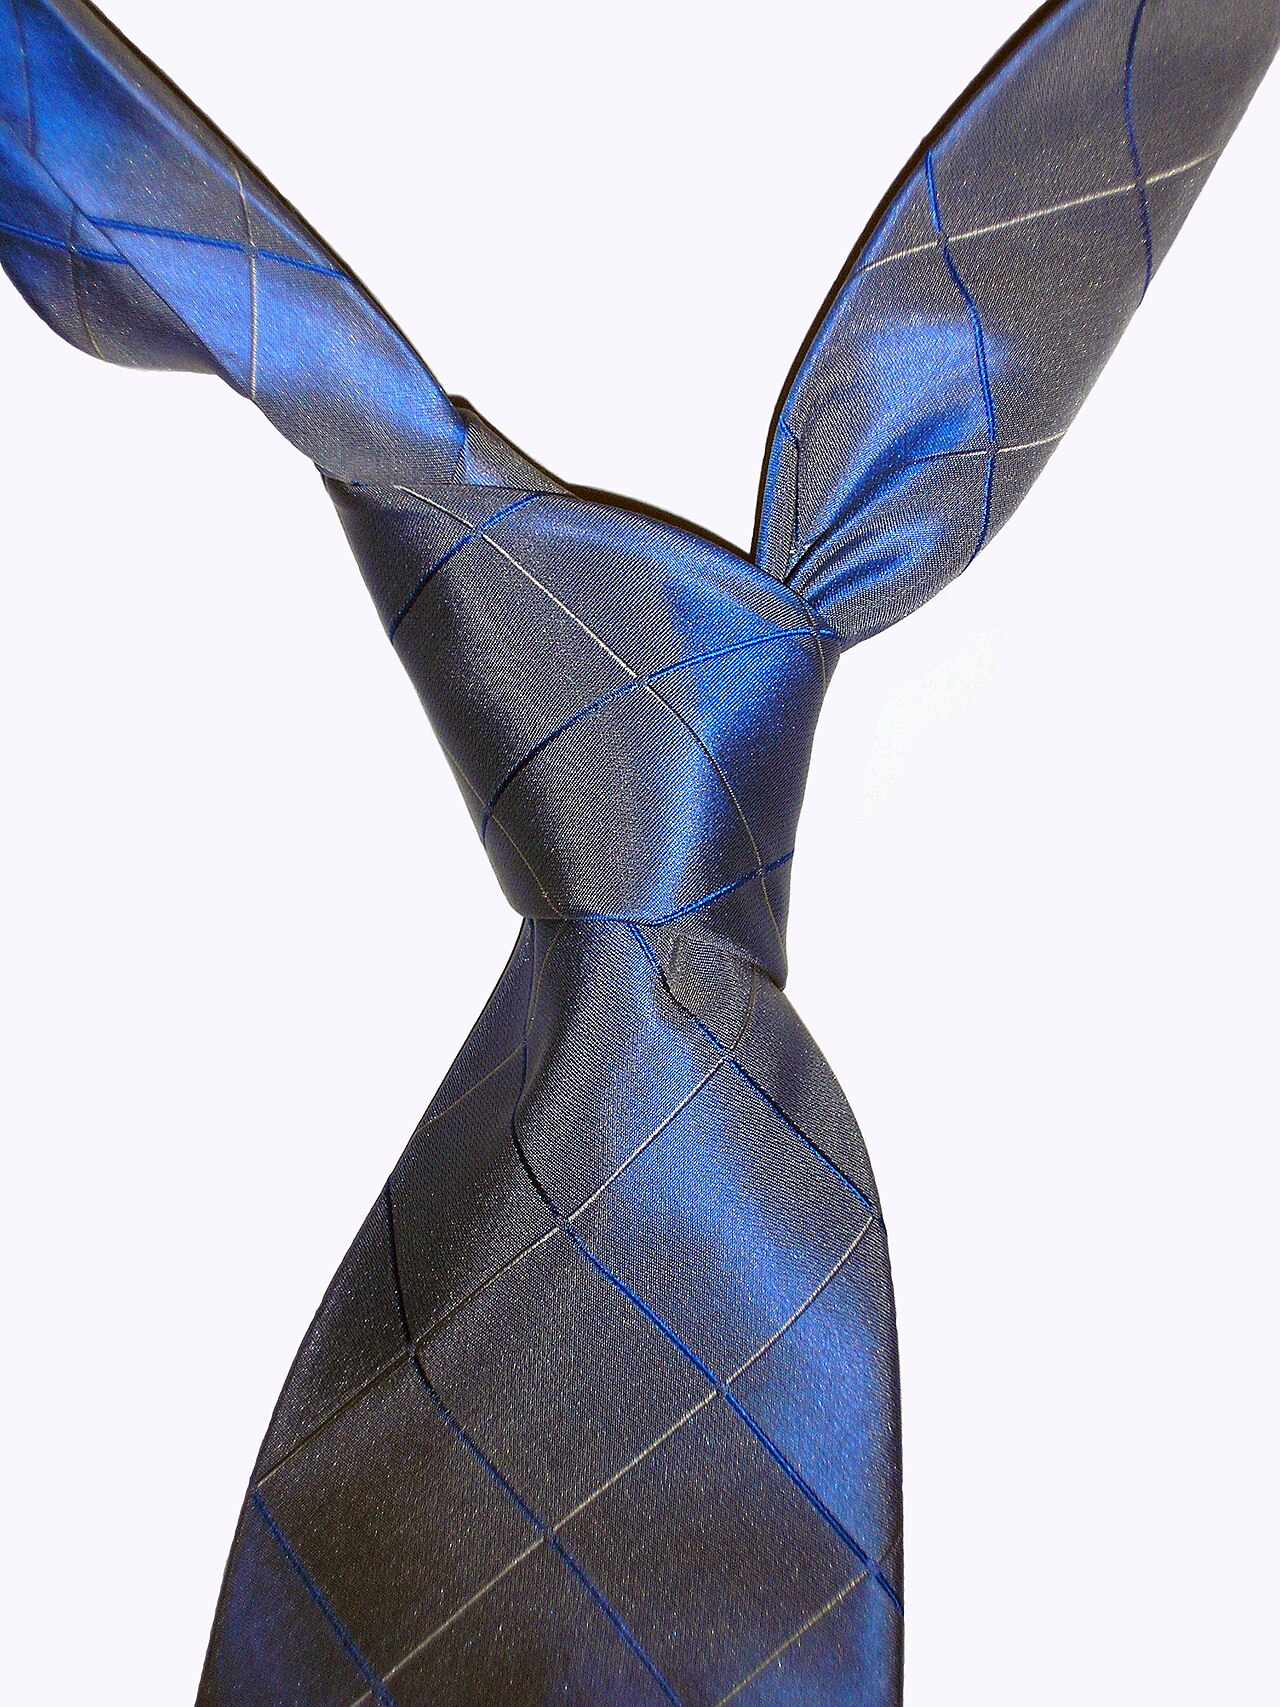
The Four-in-Hand is a good first necktie knot because it uses a short sequence of movements and produces a relatively slim, mildly asymmetrical shape. It works with many ordinary dress shirts and tie fabrics and is easier to repeat than a large formal Windsor. Begin in front of a mirror with the collar raised, buttons done and the tie draped around your neck. The wider blade should start on your right and hang lower than the narrow end; the exact difference depends on your height, tie length and fabric thickness. Follow the seven numbered movements in the step guide above, moving the wide end throughout. The objective is not an impossibly perfect triangle: a small, clean knot that sits comfortably under the collar is suitable for most everyday settings. Ties.com recommends Four-in-Hand as one versatile knot to learn first, while distinguishing it from the fuller Half-Windsor and Windsor styles.
Cross, wrap, make the front band and feed it through
With the wide end on the right, cross it over the narrow end toward the left. Take it behind the narrow end back to the right. Cross it across the front a second time toward the left, forming a horizontal band that will become the face of the knot. Bring the wide end upward through the opening around your neck from underneath. Finally, feed the wide tip downward through the front band. That last opening must remain loose enough for the tip to pass without bunching or folding. Tighten by drawing the wide end down gently while holding the knot, then slide the knot toward your collar using the narrow end as a guide. This is an original verbal restatement of the standard Four-in-Hand sequence described by Ties.com, not a reproduction of its illustrated step images. If you lose track of the front band, reset and start again rather than twisting the fabric or forcing the tip through the wrong opening.
Get the right tie length and make a neat dimple
When properly adjusted, the broad tip of a conventional necktie generally reaches approximately your belt buckle or waistband. The starting difference between wide and narrow ends varies with your height, the tie's overall length, knot size and thickness. If the wide blade ends much too short, restart with it hanging lower before tying; if it extends too far below the belt, start with less excess length. Avoid pulling the knot extremely tight against your neck, because the collar should remain comfortable. A slight dimple immediately under the knot can make the tie look neat: as you tighten, pinch a small fold in the centre of the wide blade just below the forming knot. Smooth the fabric with your fingers rather than yanking it. The Four-in-Hand's natural asymmetry is part of its shape and not necessarily a mistake. Practise while wearing the same shirt and tie, since changing fabrics can noticeably alter the result.
Four-in-Hand, Half-Windsor or Full Windsor?
Different collar openings and tie materials can change how a knot looks. Four-in-Hand creates a narrow, slightly tilted knot that fits most regular collars and works well with thicker fabrics because it uses relatively few wraps. Half-Windsor is medium-sized and more symmetric, often suitable for business shirts with a moderate spread. Full Windsor is typically broader and consumes more tie length; it can suit wider collars and thinner tie fabrics, but may look oversized in a narrow opening. A small Oriental knot can be handy with a thicker fabric when the standard tie leaves little length, though it has its own instructions and can be less convenient to untie. These are style options, not rigid dress-code rules. If one knot feels uncomfortable or makes the tie too short, choose a simpler knot or a longer tie rather than trying to compensate by overtightening.
Troubleshoot a crooked, loose or too-short tie
A loose knot often means the fabric was never snugged down after passing the wide end through the front loop. Hold the knot and draw the wide blade downward slowly while guiding the knot toward the collar. If the front loop twists or creases badly, undo it completely and repeat, keeping the face of the tie flat on every wrap. A very short tip usually means the wide end did not start low enough or the tie is short for the chosen knot. The narrow end should normally stay hidden behind the broad blade; many ties have a keeper loop or label on the back to hold it. If a larger Full Windsor consumes too much fabric, try the Four-in-Hand before buying anything new. Most beginners benefit from making deliberate, slow movements in a mirror rather than pulling quickly. The diagram-like step cards above are a text-based visual sequence; consult the linked instructions if a photograph of each movement is more useful.
Care for the tie and remember one dependable sequence
Once the knot looks right, lower the collar, check that the shirt buttons are aligned and move the tie to the centre. When taking it off, reverse the knot rather than dragging the wide blade through a tight loop: this helps avoid excessive creasing and wear. Hang or roll a delicate tie according to its fabric and maker's care instructions. Silk should not be treated like a washable cotton garment; avoid aggressive scrubbing and direct heat. The practical memory aid is simple: over, behind, across the front, up through the neck loop, down through the front band, then tighten. After a few repetitions the sequence becomes familiar, and you can explore Half-Windsor or other knots if the outfit calls for it. For a professional application outfit, our related guide /guides/how-to-write-a-cover-letter-for-a-job/ explains how to prepare the written part, while /topics/tools/ collects other useful step-by-step resources.
A general educational overview, not a substitute for professional guidance. Check current local rules and trusted primary sources before making consequential decisions.
Share this article